Recipe Management#
Properties 탭#
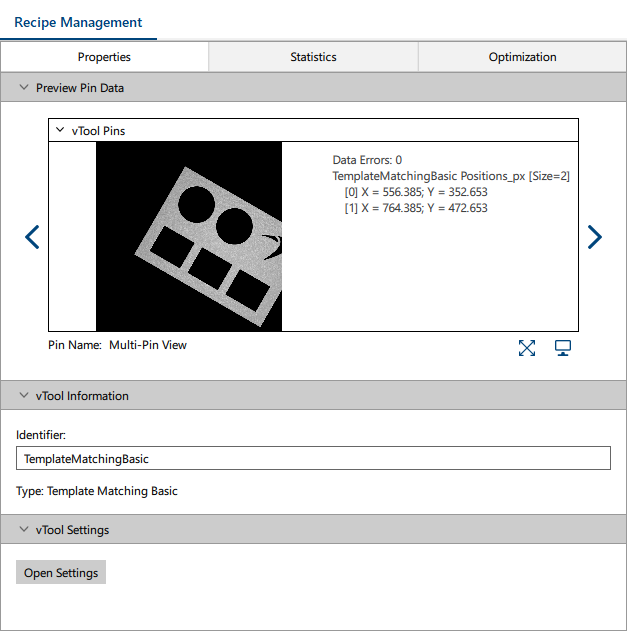
The areas on this tab allow you to interact with the vTool currently selected in the Workbench and to manage connections.
Preview Pin Data#
This area displays a preview of the input and output data of the vTool currently selected in the Workbench when running a recipe. For a larger view, open a pin data view via the Workbench toolbar. This displays only the output data.
vTool 정보#
This area allows you to change the identifier of a vTool to a name of your choice. Names can be composed of alphanumeric characters [A-Z, a-z, 0-9]. Underscores '_' are allowed but not as a leading character. Numbers are also not allowed as leading characters.
터미널 핀 정보#
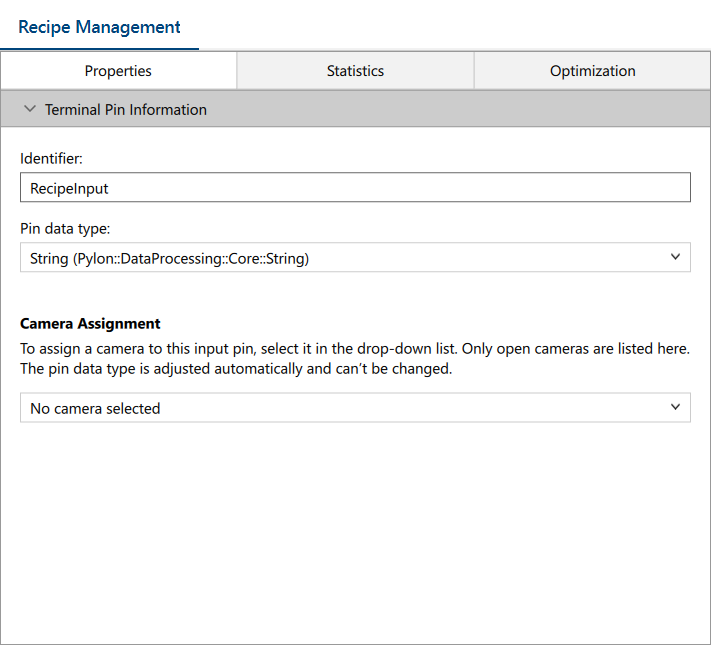
In this area, you can assign a camera to your recipe. By doing so, you can directly access the image stream of the camera in the recipe without having to use a Camera vTool.
All cameras that are connected to your computer and open are listed in the drop-down box and can be selected.
You can't change the pin data type of the terminal pin as this is provided by pylon and has to remain as it is for the recipe to work.
After you have assigned a camera, buttons for starting and stopping image acquisition (single shot and continuous shot) on the camera are added to the input pin on the terminal bar.
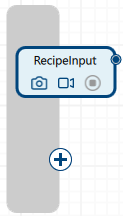
To assign a camera:
- In the Devices pane, open the camera you want to assign.
- Click the + icon on the input terminal to add a RecipeInput pin.
- Select the new pin.
On the Recipe Management tab, the Terminal Pin Information area opens. - Change the default identifier if desired.
- In the Camera Assignment area, select the desired camera from the drop-down list.
vTool Settings#
This area allows you to open the settings dialog of the vTool to configure the vTool. Alternatively, you can double-click a vTool to open its settings.
연결 정보#
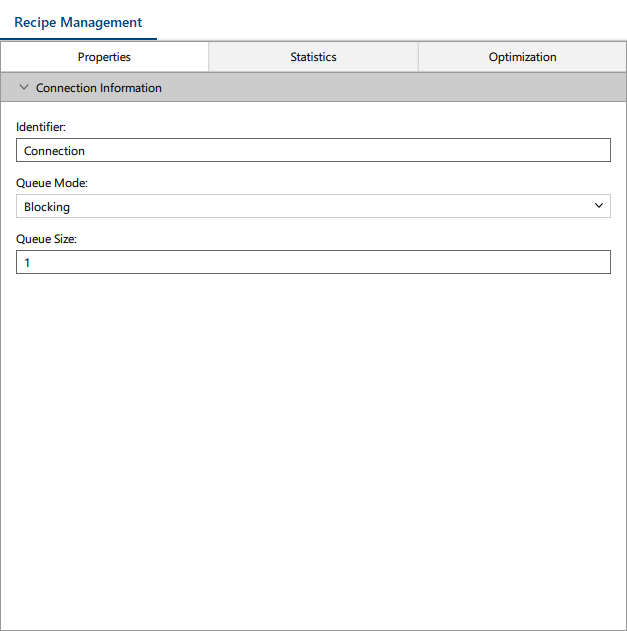
This area becomes available if you select a connection in a recipe. Here, you can change the name of the connection and specify how it works.
A connection is like a queue for items to be processed by the recipe, e.g., image buffers. The configuration of connections has a great impact on how a recipe is executed.
예시: 카메라에는 한정된 수의 이미지 버퍼가 있으며 특정 속도로 이미지를 캡처합니다. 레시피의 후속 vTool이 카메라가 이미지를 캡처하는 것보다 이미지 버퍼를 처리하는 데 더 오래 걸리면, 카메라에 사용 가능한 버퍼가 더 이상 없을 때까지 "느린" vTool에 버퍼가 대기하게 됩니다. 그 결과 이미지가 손실될 수 있습니다.
애플리케이션에 따라 이미지 손실이 허용될 수도 있고 이미지 손실을 방지해야 할 수도 있습니다. 다양한 큐 모드를 사용하고 큐 크기를 지정하여 원하는 동작을 구성할 수 있습니다.
사용 가능한 큐 모드는 다음과 같습니다.
- Blocking: Queue Size 설정은 연결에서 유지할 수 있는 큐 항목의 수를 지정합니다. 후속 vTool이 새 데이터를 처리할 준비가 되면 항목이 연결에서 vTool로 이동하여 처리됩니다.
예시: 큐 크기가 2이고 큐에 이미 두 개의 항목이 있는 경우, 레시피의 이전 vTool은 더 이상 항목을 보내지 못하도록 차단됩니다. 그러나 Camera vTool이 지정된 프레임 속도로 계속 이미지를 캡처하기 때문에 여전히 이미지 손실이 발생할 수 있습니다. 하지만 일반적으로 레시피의 모든 연결에 대해 Blocking을 선택하고 레시피에서 가장 느린 vTool에 따라 큐 크기를 지정하면 이미지 손실을 최소화할 수 있습니다. - Unlimited: 큐의 항목 수가 무제한입니다. 레시피에 "느린" vTool이 있는 경우, 카메라가 지정된 프레임 속도로 계속 이미지를 캡처하기에 충분할 정도로 버퍼가 카메라로 빠르게 반환되지 않을 수 있습니다. 따라서 버퍼 언더런으로 인해 여전히 이미지 손실이 발생할 수 있습니다. Unlimited를 선택할 때 사용 사례, 카메라 설정 및 vTool의 성능을 고려하십시오.
- Drop Oldest: Queue Size 설정은 연결에서 유지할 수 있는 큐 항목의 수를 지정합니다. 큐가 가득 차고 큐에 추가 항목이 추가되면, 새 항목을 위한 공간을 확보하기 위해 큐에서 가장 오래된 항목이 삭제됩니다.
- Drop Newest: Queue Size 설정은 연결에서 유지할 수 있는 큐 항목의 수를 지정합니다. 큐가 가득 찬 상태에서 큐에 추가 항목이 도착하면 이 새 항목은 폐기됩니다.
Statistics 탭을 사용하여 vTool의 실행 시간을 측정하고 처리를 지연시킬 수 있는 vTool을 식별할 수 있습니다.
데이터 처리(data-processing) vTool의 연결의 경우 기본 설정은 큐 크기가 1인 Blocking입니다. 데이터 생성 vTool의 연결의 경우 기본 설정은 Unlimited입니다.
Statistics 탭#
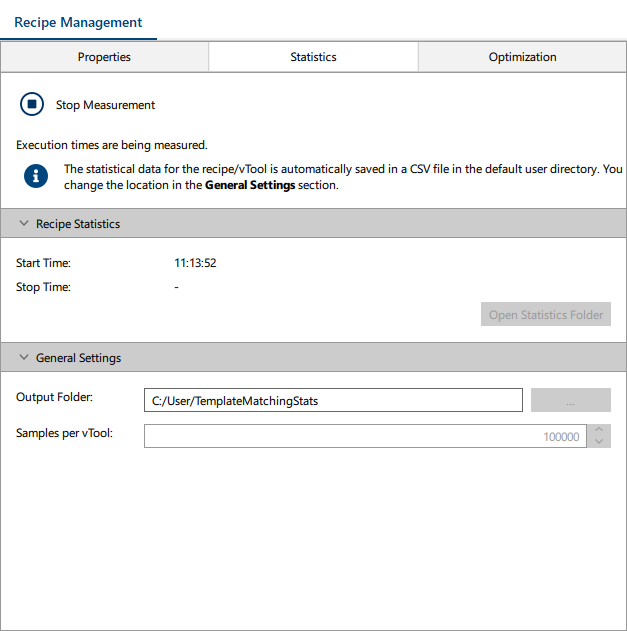
Statistics 탭을 사용하면 vTool의 실행 시간을 측정하여 타이밍 요구 사항이 충족되는지 확인할 수 있습니다. 통계 데이터를 수집하려면 레시피가 실행 중이어야 합니다.
단일 vTool 또는 레시피의 모든 vTool의 실행 시간을 측정할 수 있습니다. 모든 vTool의 실행 시간은 CSV 파일에 기록됩니다. 스프레드시트 응용 프로그램을 사용하여 데이터를 분석할 수 있습니다.
정보
CPU는 CPU 스로틀링이나 동적 주파수 Scaling 등으로 인해 현재 부하에 따라 다른 주파수로 실행될 수 있습니다. 따라서 측정된 시간은 시스템 구성 및 전체 CPU 부하에 따라 달라질 수 있습니다.
Windows: CPU 스로틀링의 영향을 없애려면 전원 계획을 Best performance(최고 성능)로 설정하세요.
Optimization 탭#
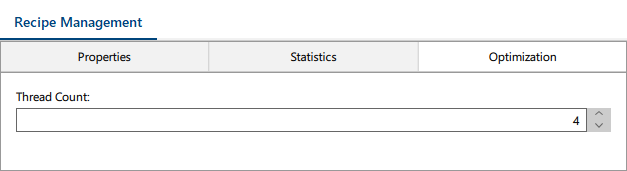
Optimization 탭을 사용하면 스레드 처리를 최적화할 수 있습니다.
레시피는 작업자 스레드 풀을 제공합니다. 이 스레드 풀의 작업자 스레드는 vTool의 데이터 처리 작업에 사용됩니다. Optimization 탭에서 실제 CPU 수에 맞추는 등의 스레드 수를 지정할 수 있습니다. 최적의 설정은 사용된 하드웨어와 병렬로 작동하는 최대 vTool 수에 따라 다릅니다.
정보
vTool은 추가적인 내부 스레드를 사용할 수 있습니다. 이는 개별 vTool의 기본 구현에 따라 다릅니다.
Licenses 탭#
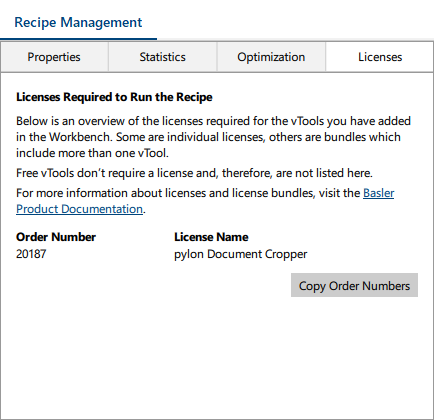
Licenses 탭을 사용하면 현재 레시피의 라이선스가 필요한 vTool에 필요한 라이선스를 확인할 수 있습니다. vTool을 추가하는 즉시 정보가 업데이트됩니다. 데모 및 실험용 vTool을 포함하여 라이선스가 필요 없는 무료 vTool은 나열되지 않습니다.
Copy Order Numbers 버튼을 사용하면 주문 번호를 클립보드에 빠르게 복사할 수 있으며, 이는 Basler 영업팀과의 소통에 도움이 될 수 있습니다.
정보
vTool이 번들의 일부인 경우 번들 라이선스가 표시됩니다. 일부 라이선스는 Region Feature Extraction vTool과 같이 둘 이상의 번들에 포함되어 있습니다. 원하는 번들을 찾으려면 Licenses and Bundles 섹션을 확인하세요.